Appearance
Setting up Nuxt
Setting up Nuxt is relatively easy. We'll be running a command and configuring a few things.
Get Nuxt
Run this command in the terminal, if prompted to install packages, type y and hit enter

bash
npx nuxi@latest init my-app- If prompted to install packages, type y and hit enter
- If prompted to choose package manager, choose
npm
INFO
You might have this pop up when you are copying and pasting into the terminal, click on allow 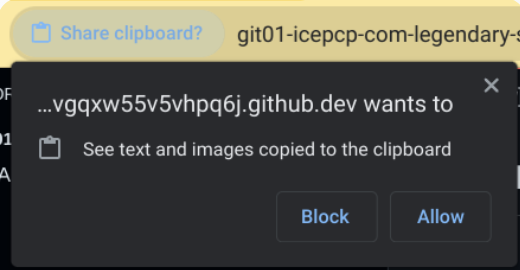
Drag files out
We’re going to drag everything out from my-app into the main directory
Click on the arrow beside my-app and select everything in the folder (click on the last item, hold shift key and then click the first item in the folder), then click on any file that is selected, drag and drop it to the bottom of README.md
If confirmation is asked, click on Move. If README.md exists in the same destination, click Replace
After you’re done, you can safely delete the my-app folder
Watch a short tutorial here
Install dependencies
Run this command in the terminal to install the needed dependencies
bash
npm install @headlessui/vue @heroicons/vueInstall extensions
Launch VS Code Quick Open (Ctrl+P), paste the following command, and press enter
ext install Nuxtr.nuxtr-vscodeext install Vue.volarext install bradlc.vscode-tailwindcssUnsure or just want to check you did it correctly? Watch a short tutorial here
After setting up Nuxt, move on to the next part and set up TailwindCSS.